SiteKiosk Software
SiteKiosk Online helps you easily set up tamper-proof public-facing PCs from a central location and manage them remotely from your personal dashboard. Create your own interactive kiosk applications from the easy to use SiteKiosk Online editor and connect them to your software, systems and input devices. SiteKiosk ensures your customers’ data is cleared after each session at the kiosk. Available for Windows & Android.
Customized Kiosk Applications
Design beautiful kiosk application interfaces that meet your business needs with SiteKiosk. Don’t have the time to design your kiosk interface? Leave it to us! We create customized kiosk apps and provide comprehensive support during the implementation of your project. Discover our kiosk solutions!
The Only Software You Need for Your Project
Around the world, thousands of companies from a wide array of industries rely on our innovative kiosk and content management solutions to meet their branding and other business requirements while protecting customer information on the system.
- Successfully used by
- 10,000+
- companies
- Customers worldwide from
- 80+
- countries
SiteKiosk for Any Scenario
The only kiosk software that provides you with all 3 core functions
Protect
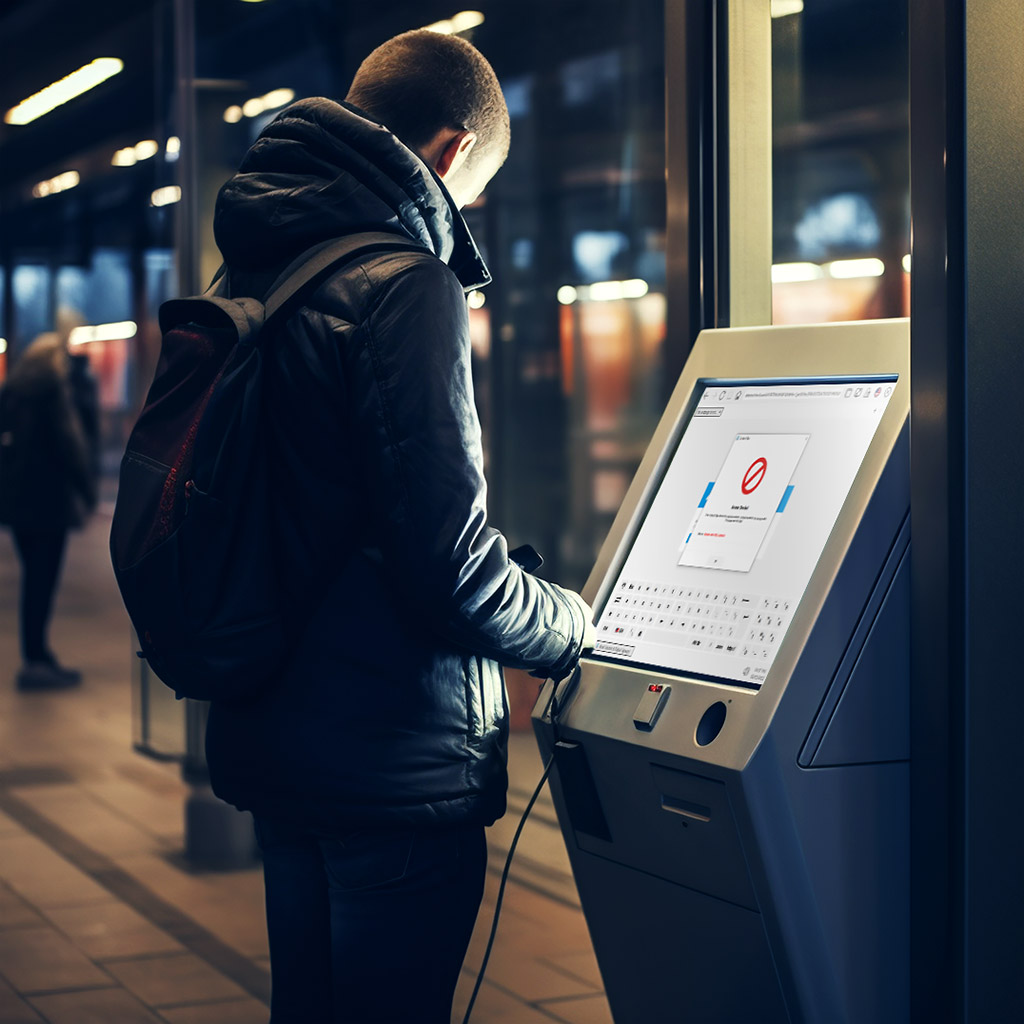
Device Protection & Operational Safety
SiteKiosk Online protects your kiosk systems against tampering and secures the devices from the first boot process.
Uncontrolled access and harmful actions can be actively blocked.
Thanks to parental control filters, whitelisting and effective data protection columns, an all-round secure user environment is created.
Manage
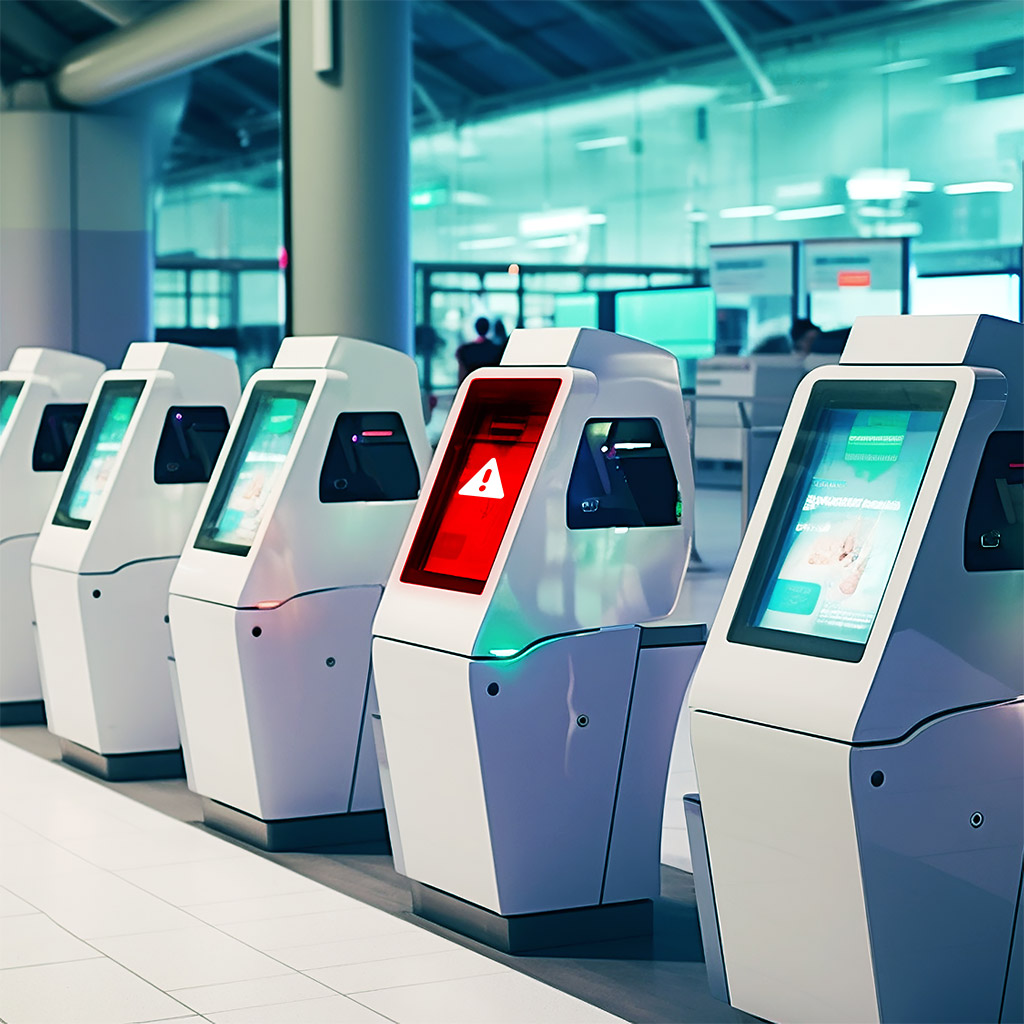
Remote Management & Monitoring
SiteKiosk Online enables centralized remote monitoring of your kiosk devices directly in the browser.
In the event of technical faults, automatic notifications are triggered, which are helpful for effective troubleshooting.
Use your own server in the on-premise version and use the LDAP connection.
Show
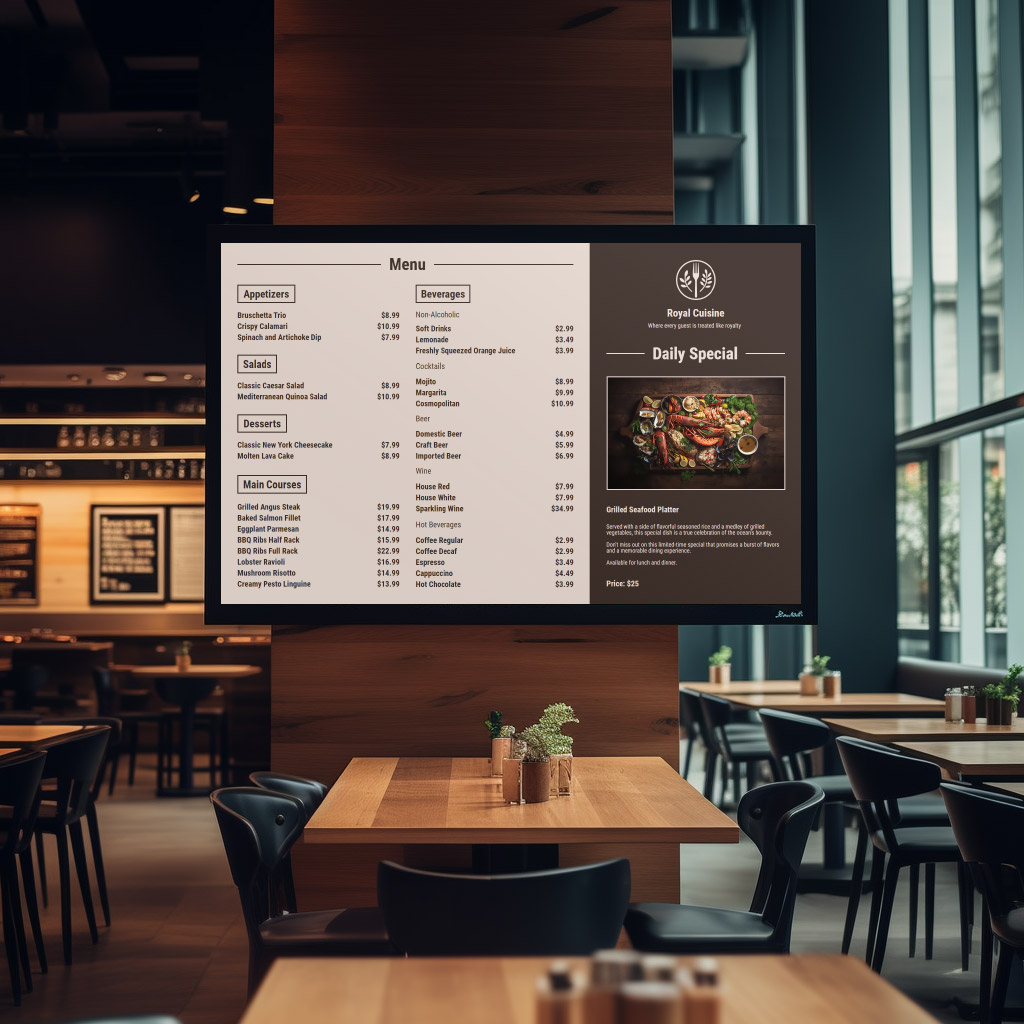
Custom Kiosk Apps & Digital Signage
Increase the attention rate of your target group with interactive kiosk terminals.
SiteKiosk Online offers numerous design templates that can be adapted to your project with little effort.
The included editor enables attractive digital signage solutions for every area of application.

21. March 2024
Lift & Learn Solutions with SiteKiosk Online
SiteKiosk Online makes it possible to realise Lift & Learn solutions and make the kiosk experience even more interactive and appealing for customers.
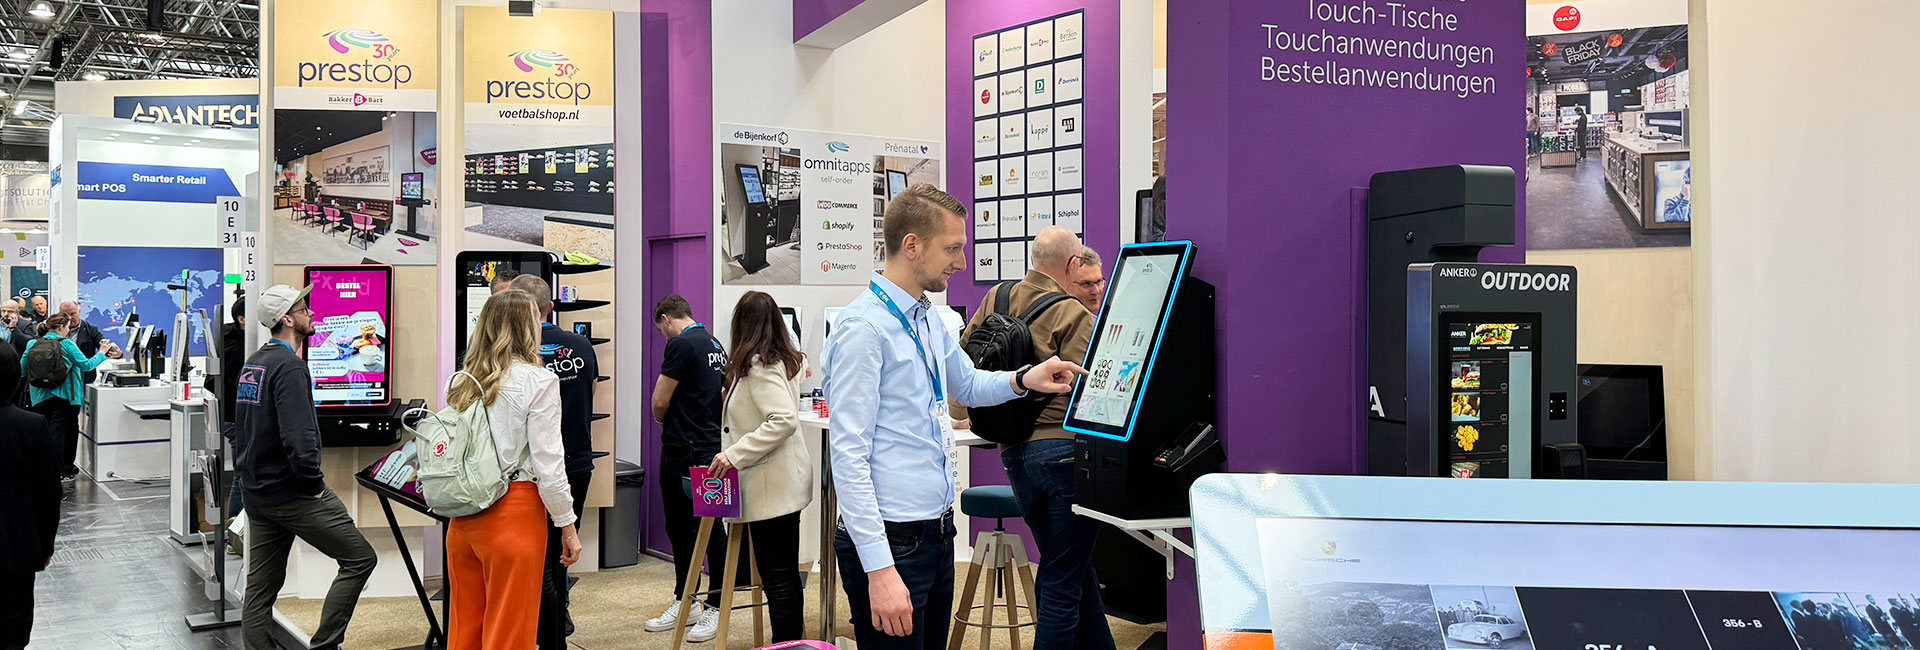
29. February 2024
New Retail-Trends at EuroCIS in Düsseldorf
“EuroCIS offers us an excellent platform for discovering new areas of application for kiosk systems in retail!” summarised Martin Kurze after his visit to the trade fair.

2. February 2024
SiteKiosk Online 1.4 is now available on the cloud platform
Clients equipped with version 1.4 can now be updated to the latest SiteKiosk Online version using the new update page.